
Step-by-Step Guide: How to Manually Install Nextcloud After Purchase
Nextcloud is a self-hosted cloud storage solution that allows you to securely store, sync, and share files across devices. It provides features like document collaboration, calendar integration, and end-to-end encryption, making it a great alternative to third-party cloud services. This guide will walk you through the manual installation of Nextcloud after purchasing your hosting service.
Step-by-Step Guide:
Step 1: Login to Your Hosting Account
-
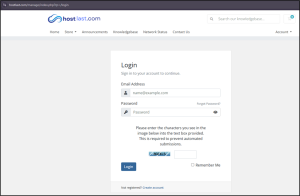
Go to your hosting provider’s client area.
-
Enter your login details and sign in.
Step 2: Access Your Purchased Services
-
After logging in, go to the Services tab at the top.
-
Click My Services, then select the product/service you purchased.
-
Click on the blank space (not your domain link) to access the product dashboard.

Step 3: Install Nextcloud
-
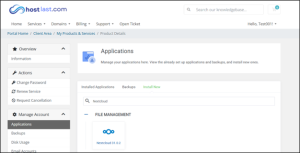
In your product dashboard, click Application on the left sidebar under Manage Account.
-
Click Install New and search for Nextcloud.
-
Click on the Nextcloud icon to start the installation.
Step 4: Configure Installation Settings
-
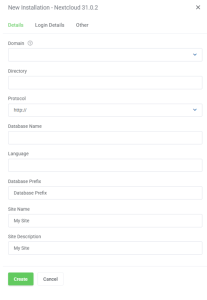
Enter your domain name.
-
Leave the directory field empty (unless you want to install it in a subdirectory).
-
Select your preferred protocol (
httporhttps). -
Set a database name (e.g.,
nextcloud_db). -
Choose the language as “en” (English).
Step 5: Set Up Login Credentials
-
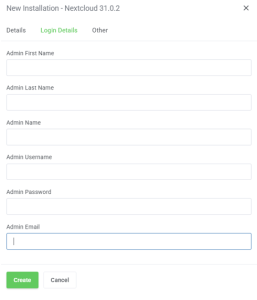
Enter your First name, Last name, name, username, password, and email for the admin account.
-
Your username and password are important!—these will be used to log in to Nextcloud. Please remember the username and password.
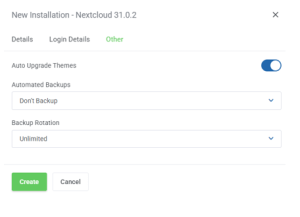
3. Choose your backup frequency (daily, weekly, etc.).
Step 6: Complete the Installation
-
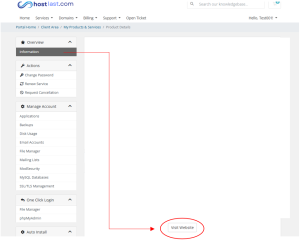
Once installation is successful, return to your information dashboard.
-
Click the Visit Website button, which will redirect you to the Nextcloud login page. (You can directly click the button if you Leave the directory field empty as in Step 4). However if you already set name for the directory, you will need to use “https://yourdomain.com/directoryname”.
Step 7: Access Your Nextcloud Server
-
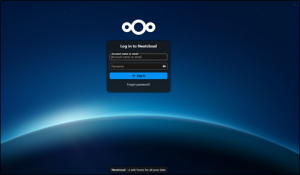
Enter the login credentials you set earlier in Step 5.
-
Click Login, and you will now have access to your Nextcloud dashboard.
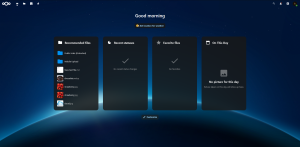
Congratulations! Now you have done the installation and can start setting up your Nextcloud server, upload and manage your files 🙂
Need More Help?
You can also watch this video for a step-by-step guide: [link] 🎥

